Lighted Warmachine Major Prime Victoria Haley (Haley 3)
Following is a quick tutorial on how I lit future and past Haley for the Haley 3 unit. I thought since they are supposed to be ghostly shadows having made out of clear and fading in with painted color, along with being lit would be very cool!
First I started by partially assembling Haley Future and past. For doing a one off casting having them partially assembled will make them a little easier to work with and stronger since they will be less pieces.
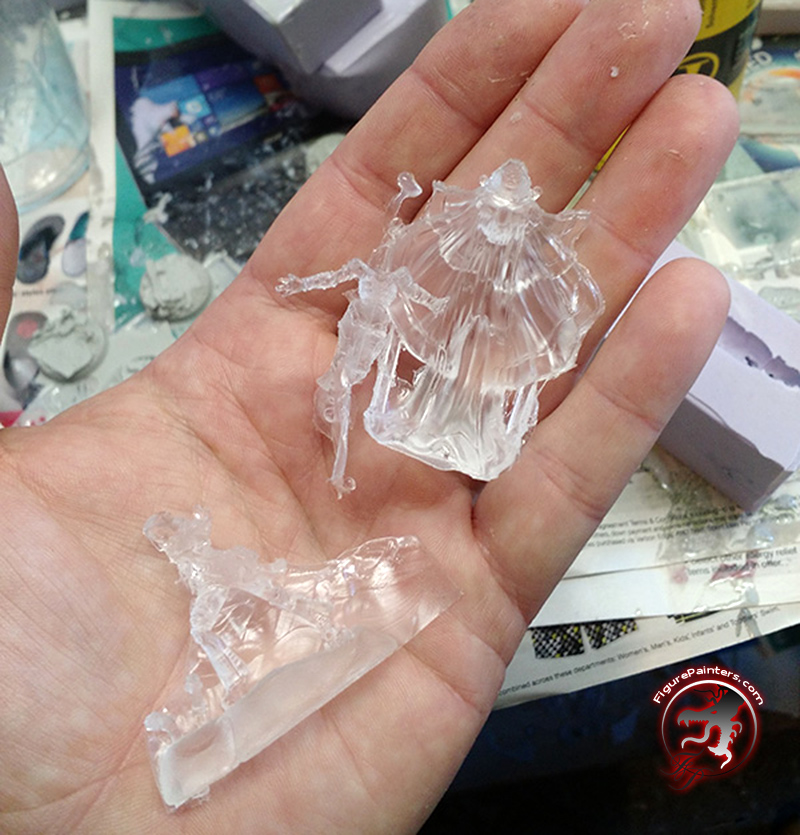
I pressure cast them to make sure I got all the details. Here is a quick tutorial on basic presure casting. https://www.smooth-on.com/product-line/crystal-clear/
I used Smooth-On Crystal clear for the casting material.

I let them sit in there for 24 hours to make sure they were cured. Once I pulled them out I still had to let them site for a few days to let the clear resin finish curing. When making smaller batches of resin like this it is hard to get it exactly to ratio, so it tends to take longer to cure all the way.
Next up is making the bases to hold the battery mount, switch and lights. I started off sanding down some resin bases so I just was left with the terrained top.
(picture before sanding)

To hold the battery mount and other stuff I need a hollow base. I cut the top out of a regular PP base and added a plexicard ring at the bottom to make it a little deeper. The standard base is too shallow for all the stuff needed in it.

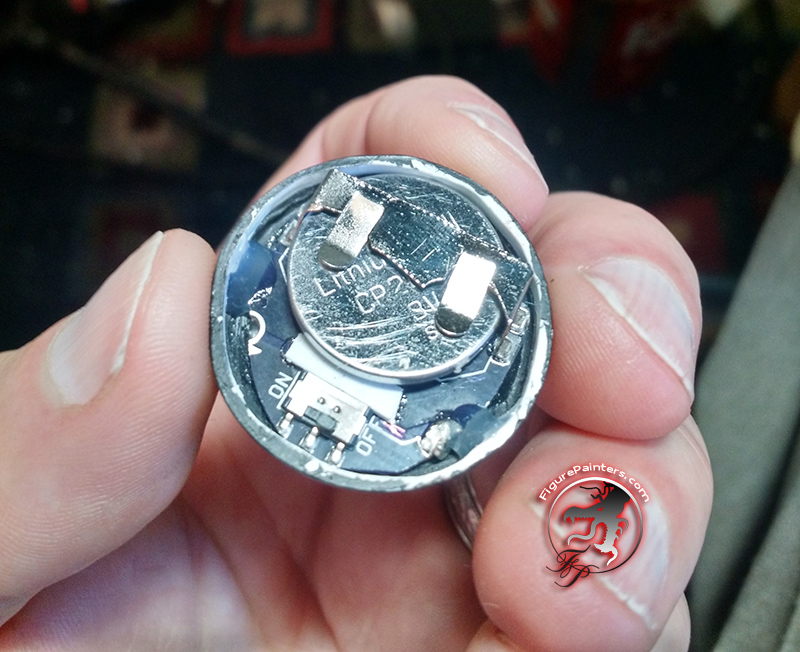
The battery mount with switch is too large to fit in a 30mm base. So I took it to the belt sander to make it fit. I also added a little plasticard "ramp" in front of the switch to help get the battery out.

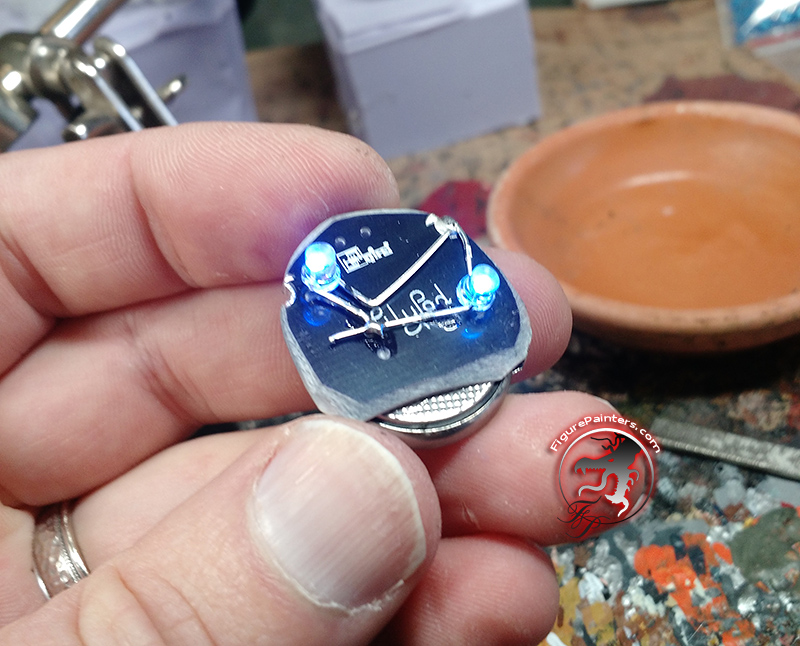
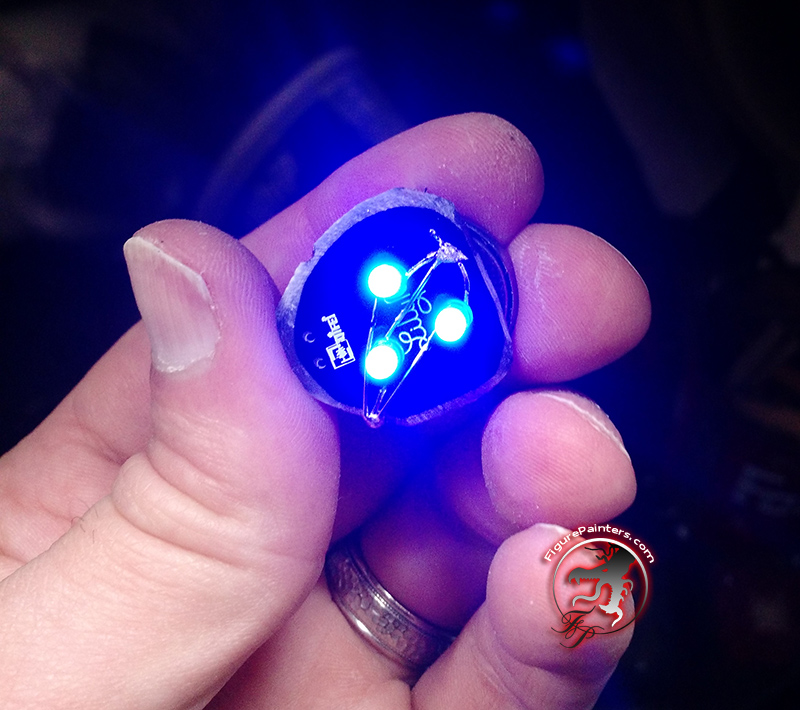
The LEDs I used are 3v blue flicker mini LEDs. Here you can see the inside of the base with the holes for the LEDs.

Next the LEDs are soldered to the board, battery inserted and the package slid up into the base to test out!

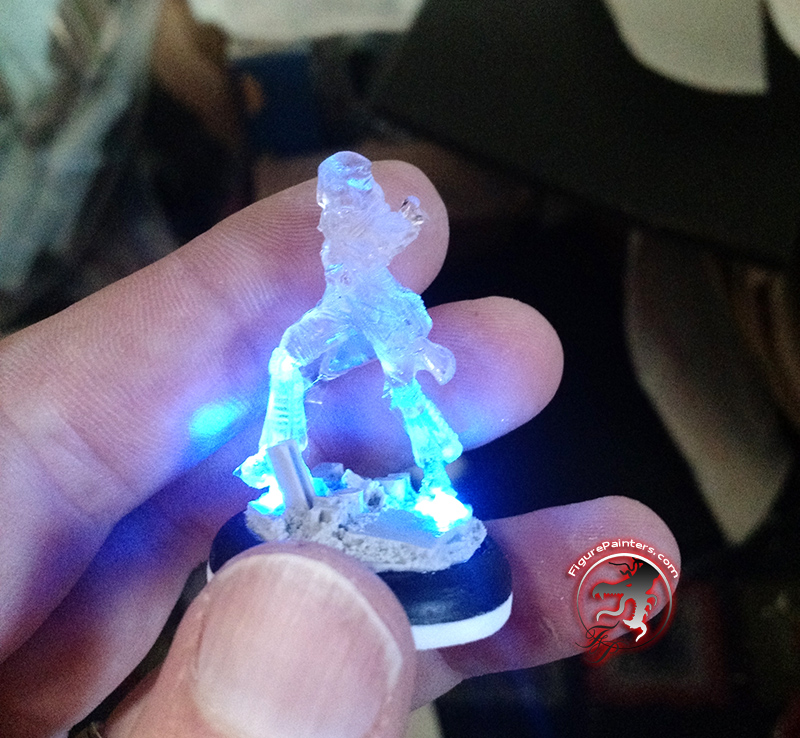
Here is a video of what it looks like with the flicker lights.
Net up Granny Haley gets her lights.



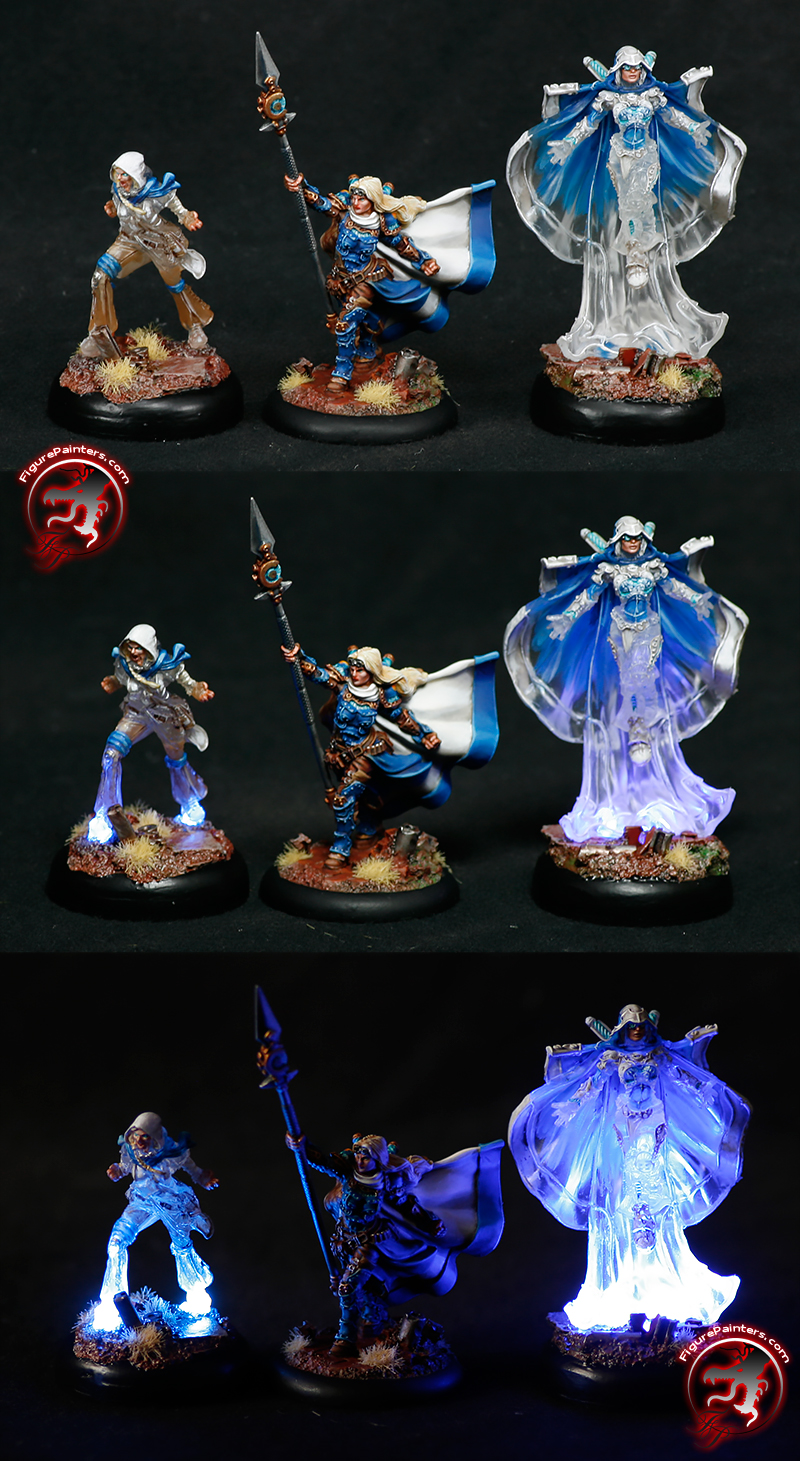
Here they are all painted. To "Prime" the clear models I used Testors Dull coat. It takes paint pretty well and will cloud the clear models a little to help with light dispersion. I just painted half of the ghostly models to help make the look like they were phasing in.
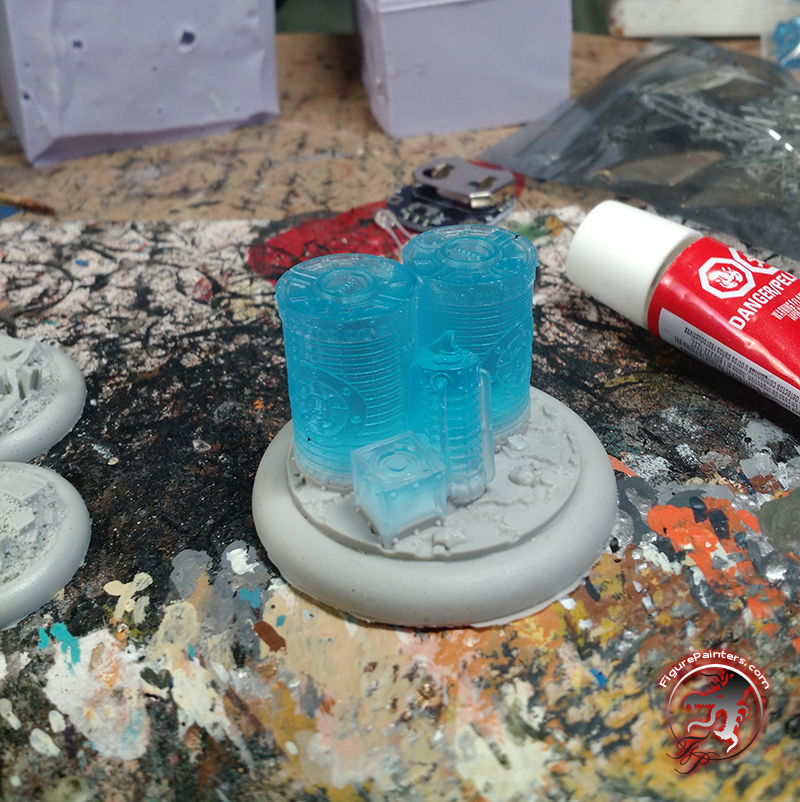
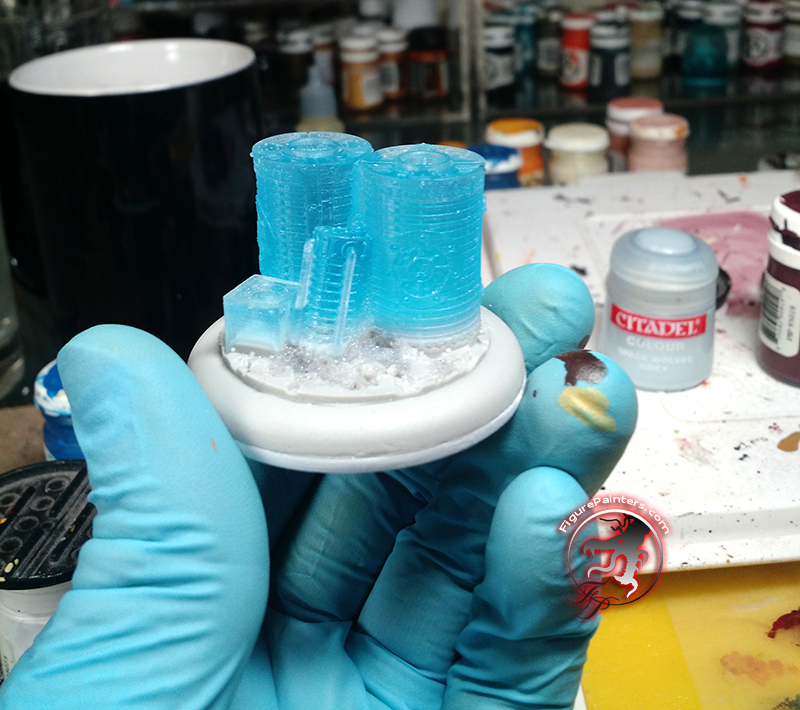
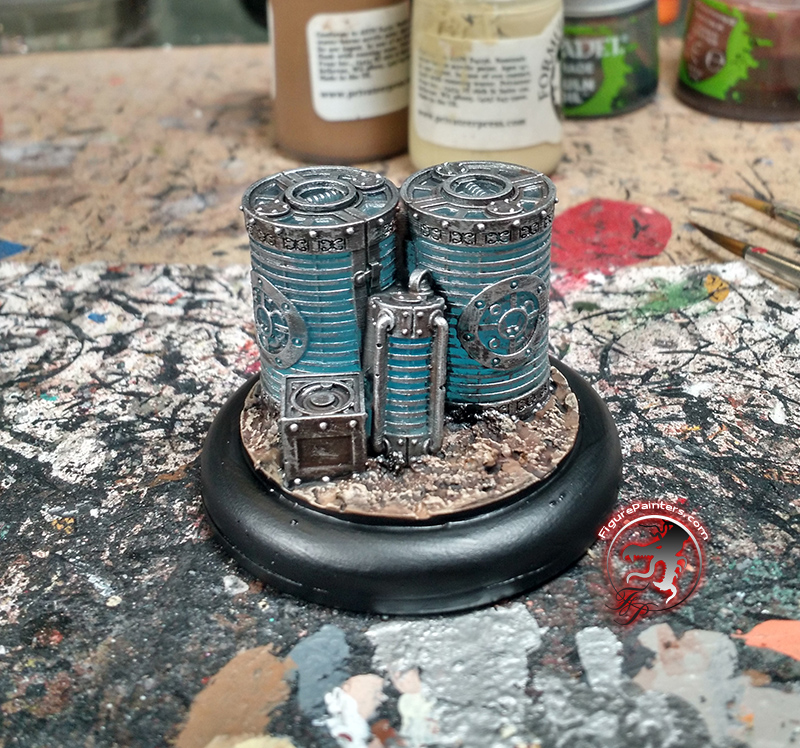
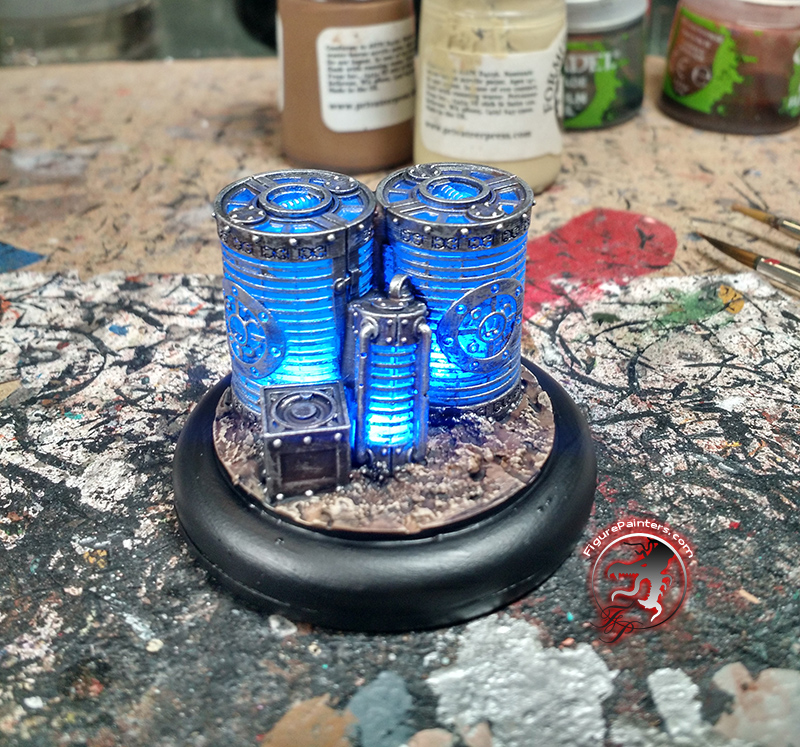
And a bonus of an objective I made at the same time to go with them. I filled the top part of the mold with clear resin that I tinted, then once it had cured some filled the rest of it with opaque resin.


Hope you found this informative and helpful!
