

Lighted Convergence Transfinite Emergence Projector
Here is a mostly step by step of me lighting my convergence TEP. If you have any questions let me know! I don't have pictures of all the steps, but there should be enough to get the points across.
The goal of this is to make all the coils and parts that are glowing in the art work actually glow.
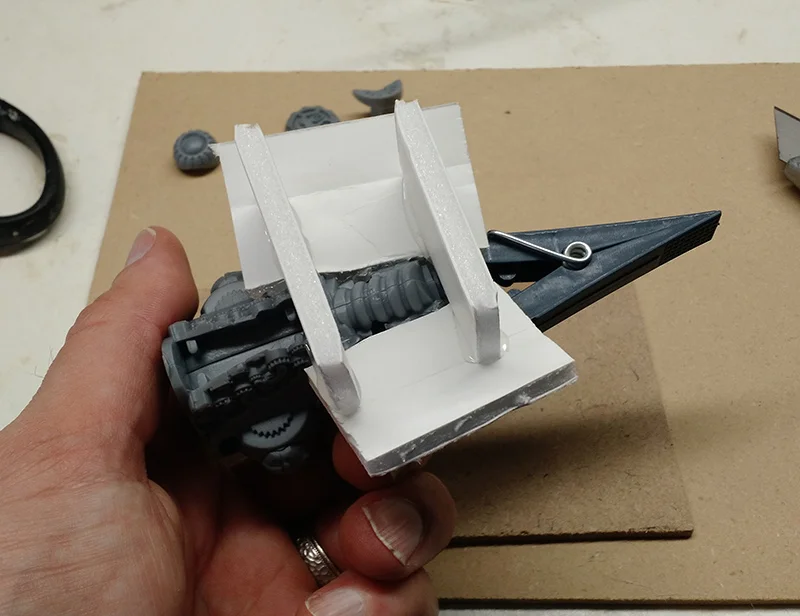
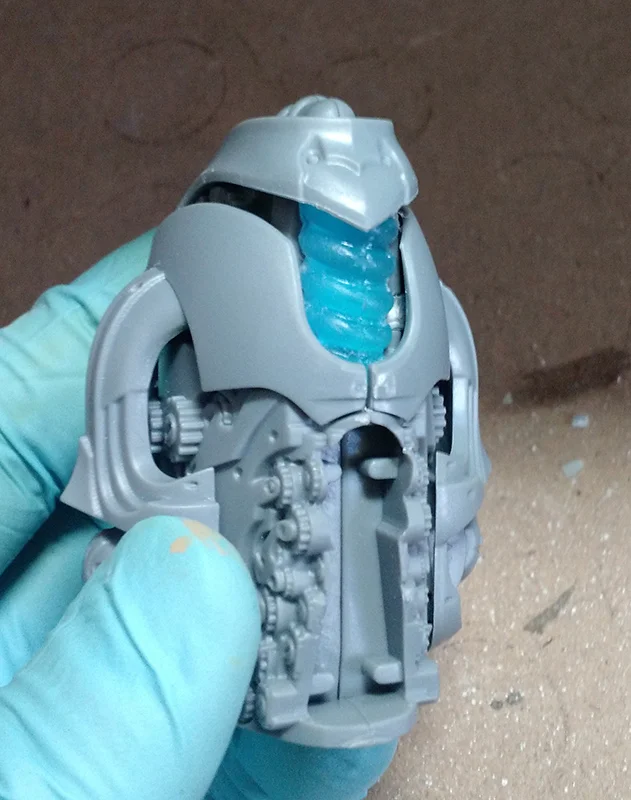
First off I put together part of the top spire so I could get a mold of the back coil.
To get the molds I used hot-melt and foam core to make a box for the mold. I used low temp hot-melt so it would not melt and bond to the plastic. I put it on the foam core fire and let it cool some before I pressed it on the model.
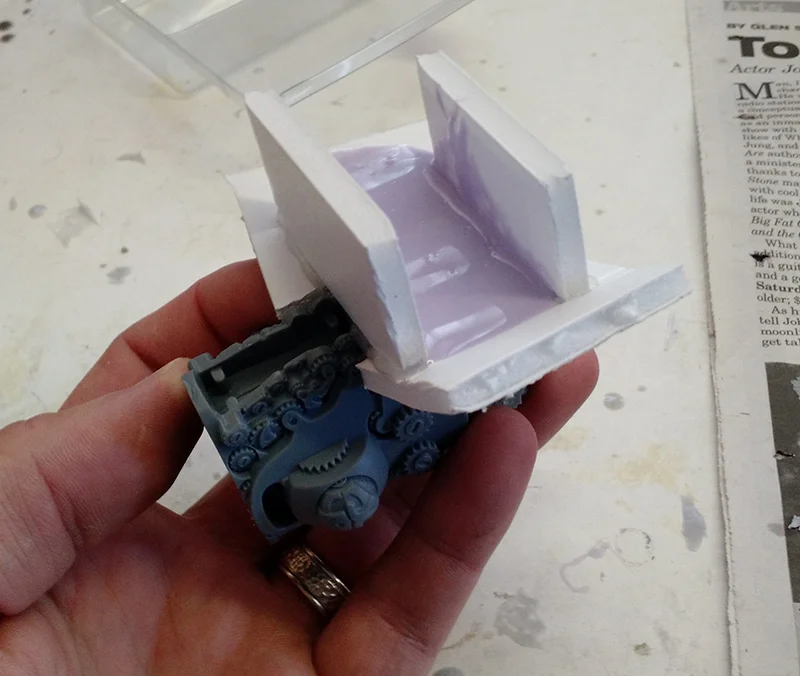
Mold material poured into the mold box.
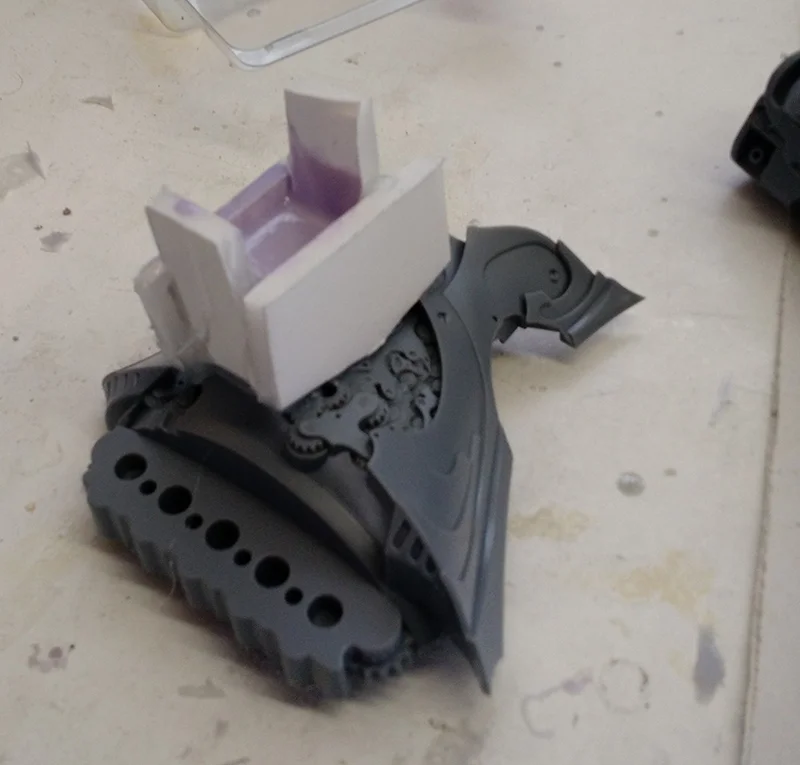
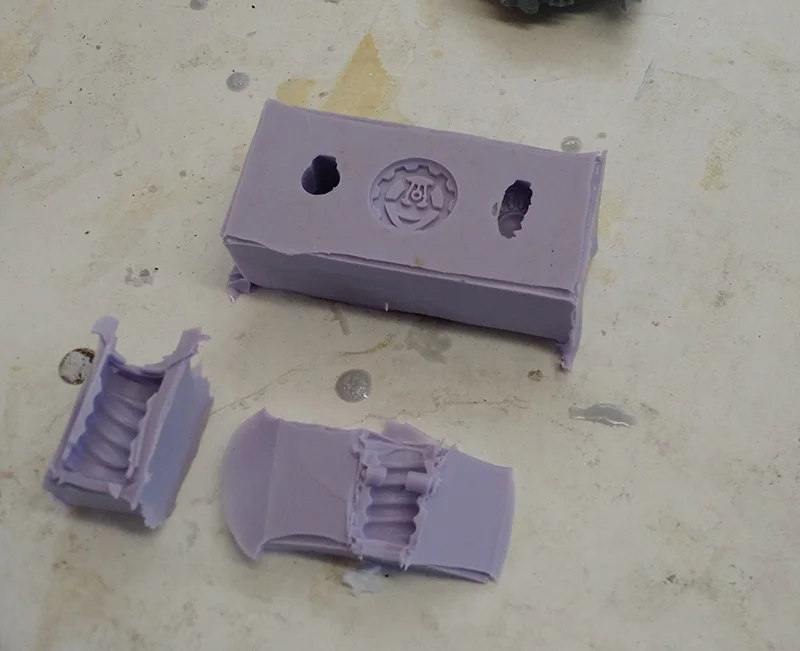
Some of the smaller parts in their mold.
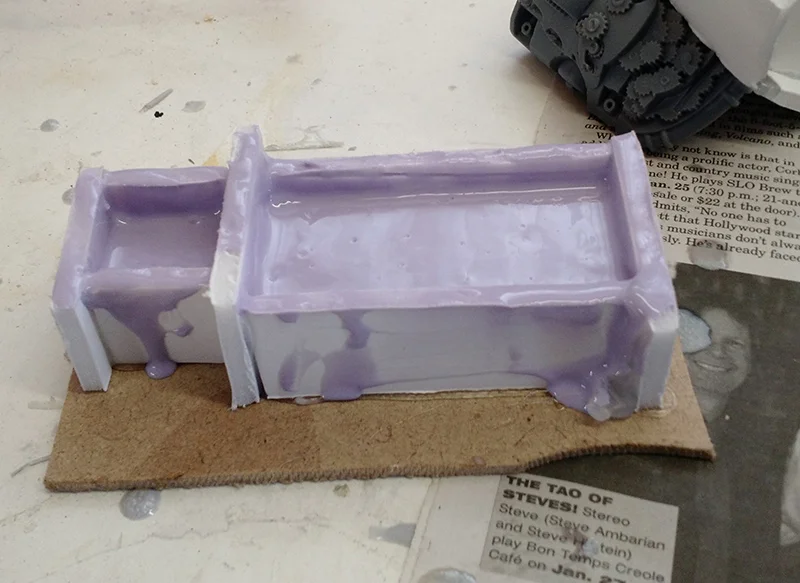
Molds of the parts that are going to be re-cast in clear.
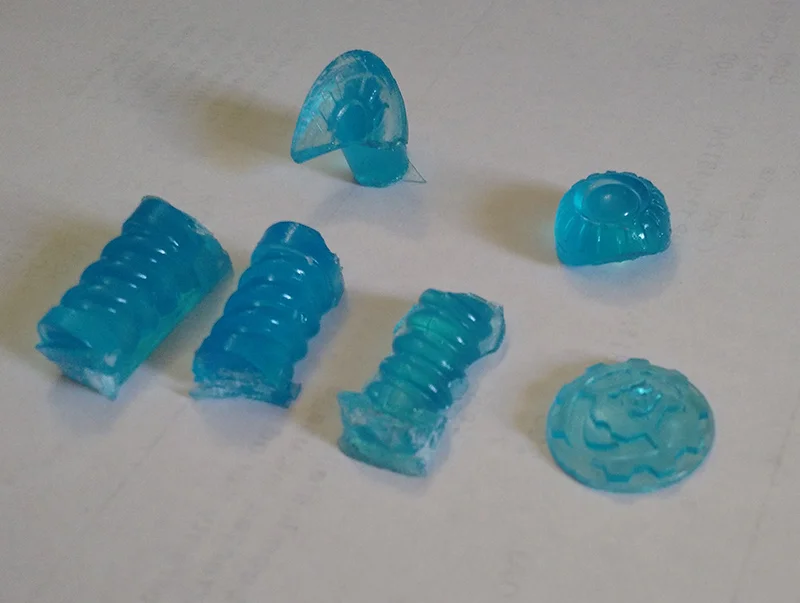
To make the parts I used clear resin tinted with Tamaya clear blue paint.

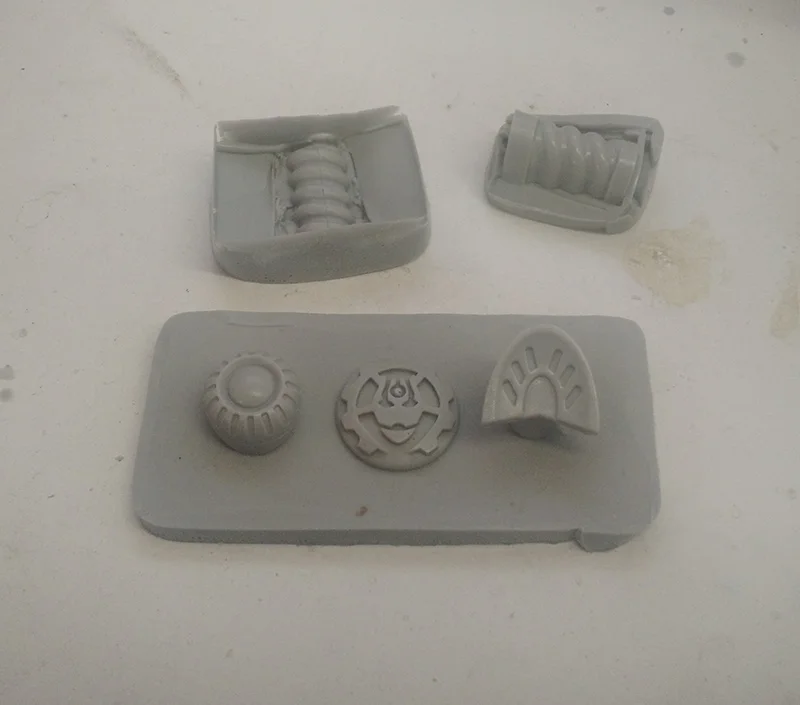
Here is what the parts look like cast in regular resin.
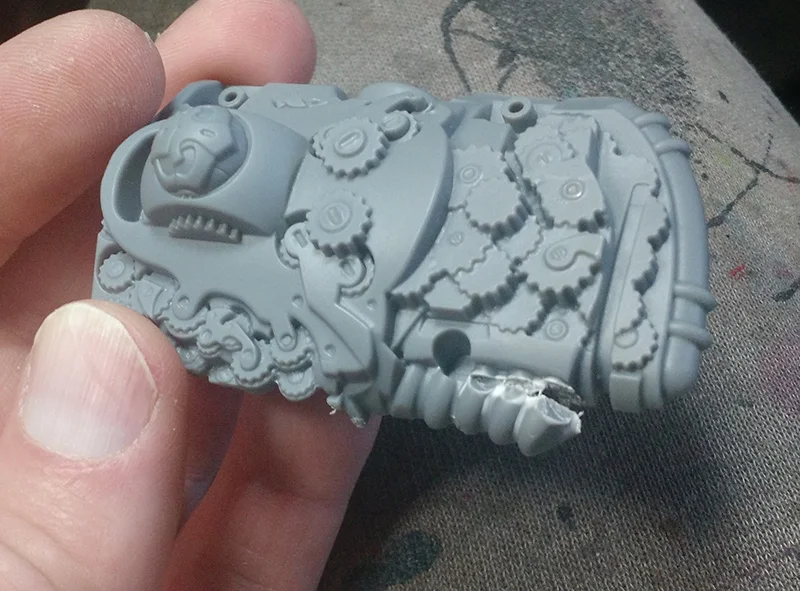
Now I cut off the coils on the model so I can put the new ones on. They won't be put on though until I have the base coat of color on. Then they will be glued on and I will finish painting it.
The new parts cast up. They will need some cleaning and sanding down so they will fit correctly too.
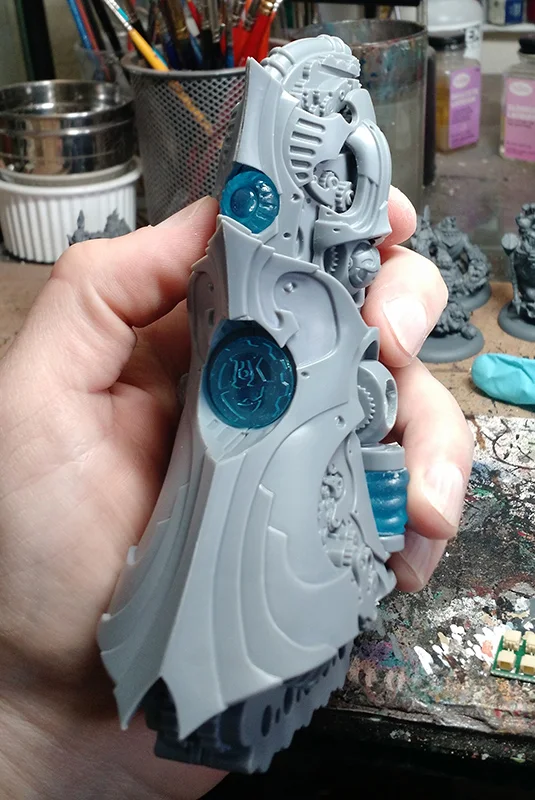
Some of the parts test fit to make sure they are going to work.
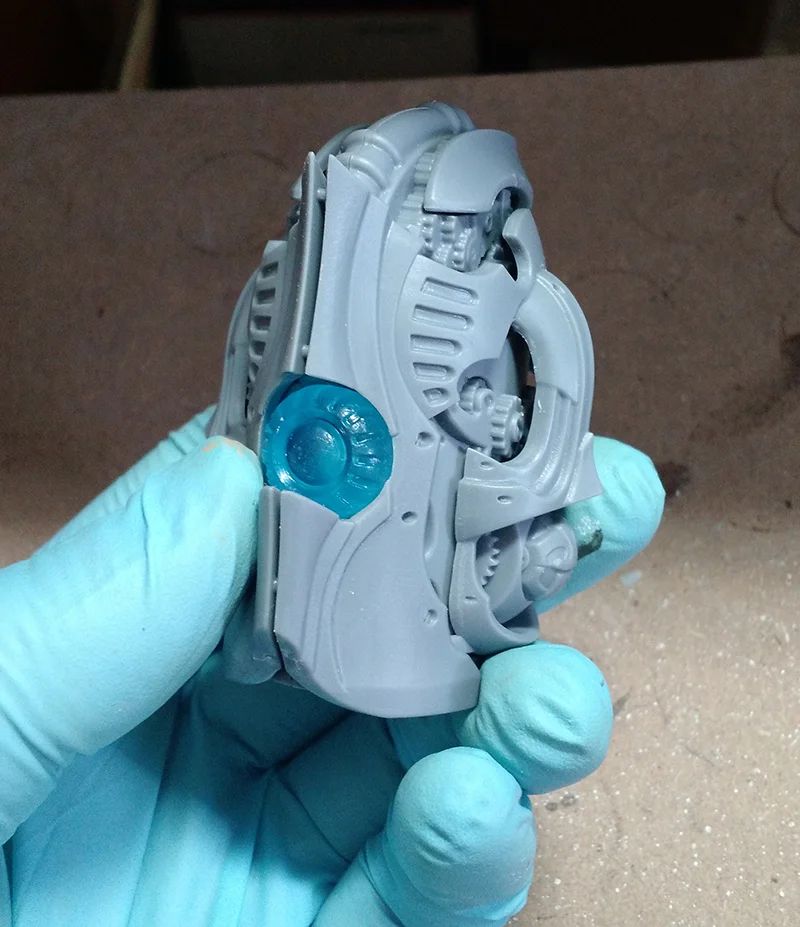
The lower section with its' clear parts.
At this point I have primed the model (without the clear parts on it) and painted it with the pear orange base and yellow highlight that I did with the rest of the army. For the steps on this see the previous posts in this thread.
For the LEDs I used Powered Play lighting kits I had a few alpha kits I had purchased and I used the blue lights out of them. The really nice things about these kits is they are plug and play. So all you have to do it plug in the LEDs, power and switch to the break out board and you are good to go. No soldering, just plug everything in. This way I can also detach the top part from the bottom for storage if I need to.
Here you can see some of the wiring inside, I have one LED in the top piece and one each in. For the side coils I drilled a small hole in to top of each coil and glued the LED in. The switch is installed in the bottom of the model with the switch tab sticking out the bottom.

I had to grind out the inside of the base some so the 9V battery would fit. Though if you don't want to mess with that Powered Play has some mini 9v batteries too.
I glued the connector board to the top of the 9v harness so it all stays together.
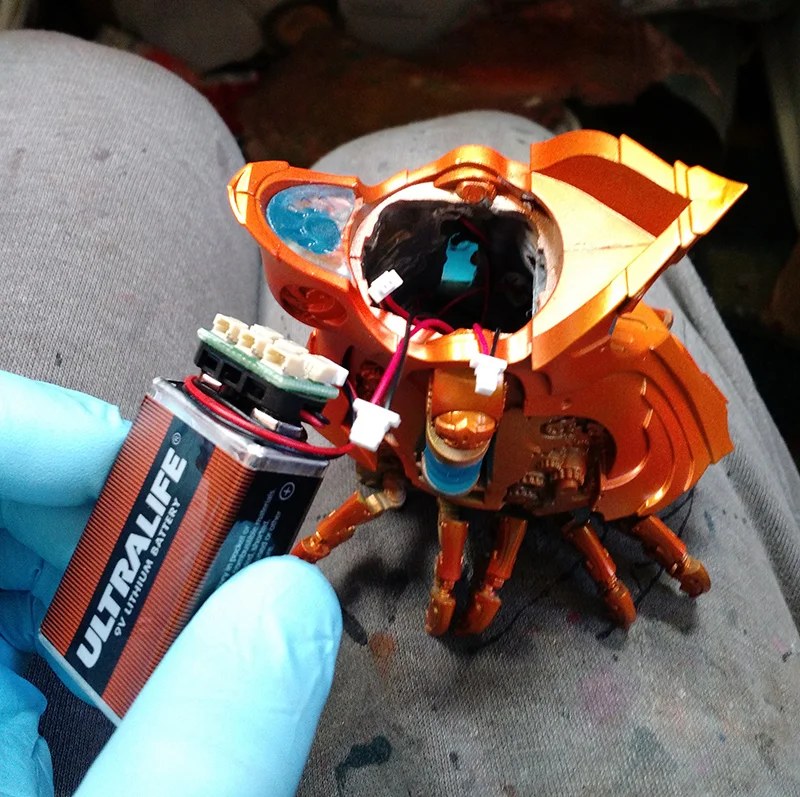
Picture with the battery in the model.
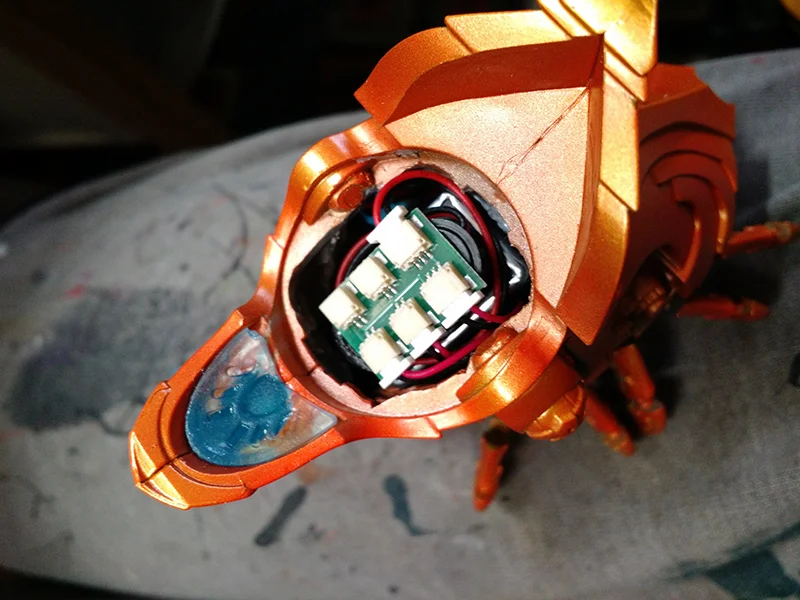
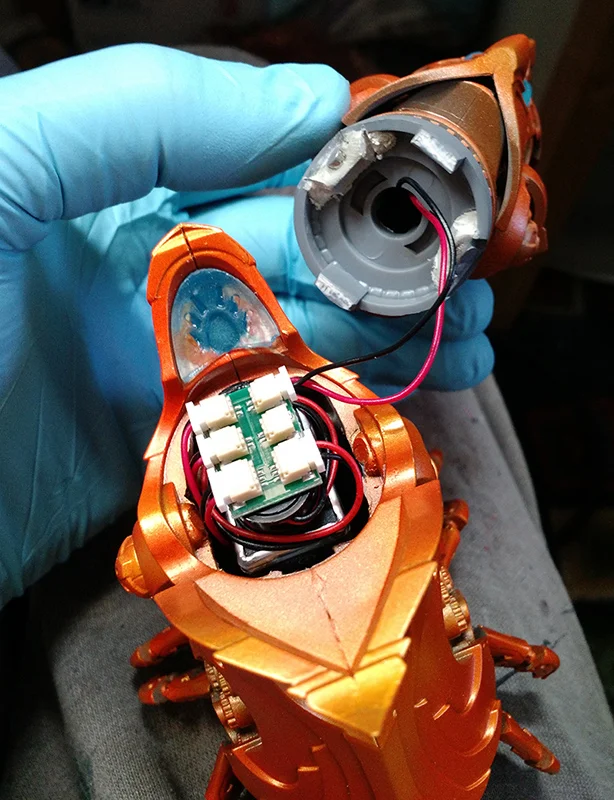
I magnetized the top spire so I can get to the battery. Here you can see the connectors from the two LEDs in the top connecting to the connector board.
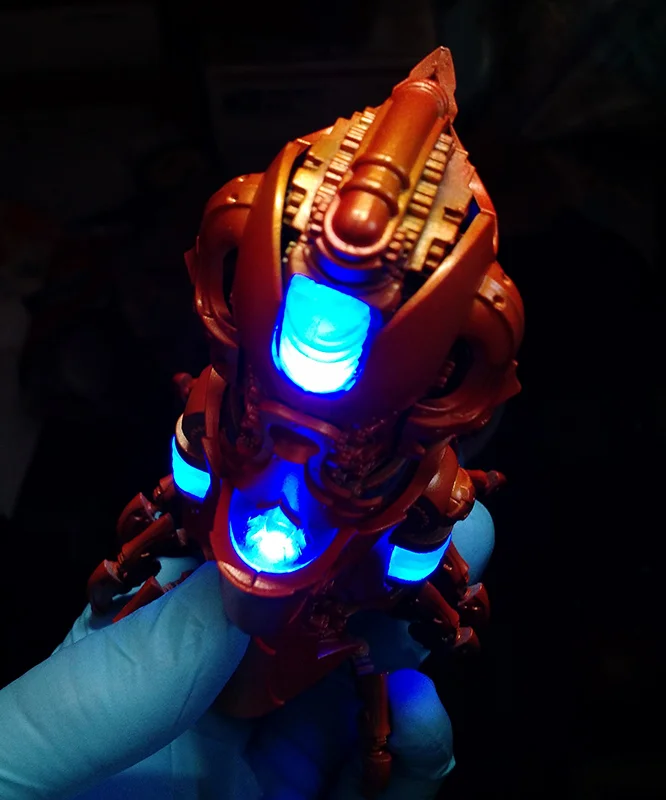
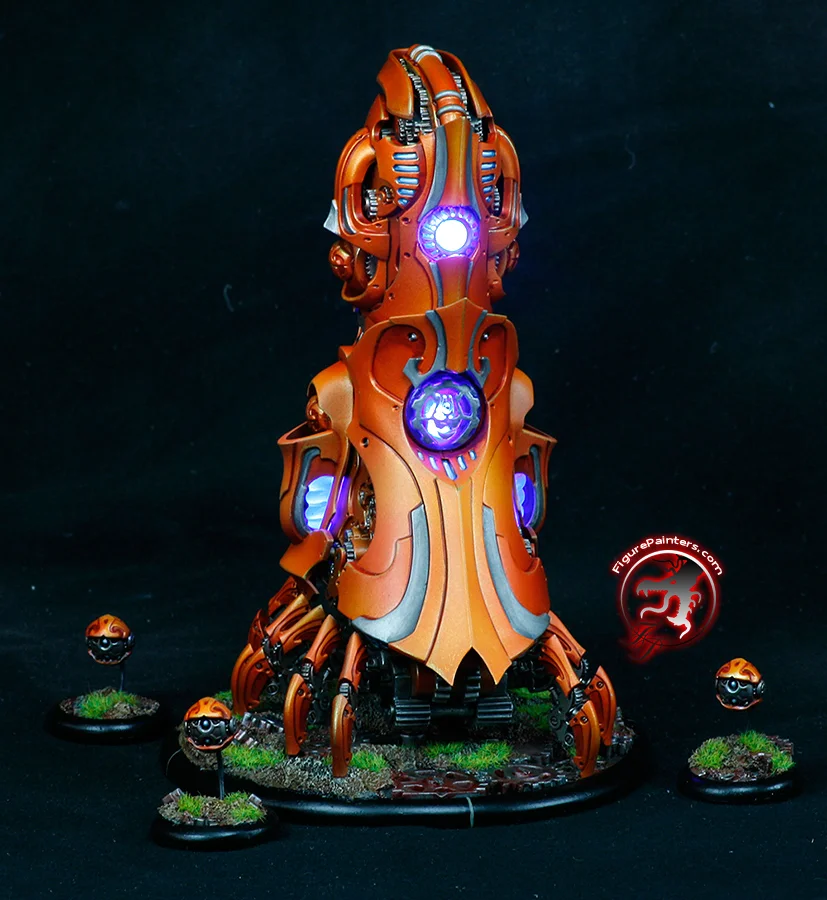
Here you can see it with the clear parts attached and lit up! The extra shield pieces will be painted separate and then glued on once they are done.
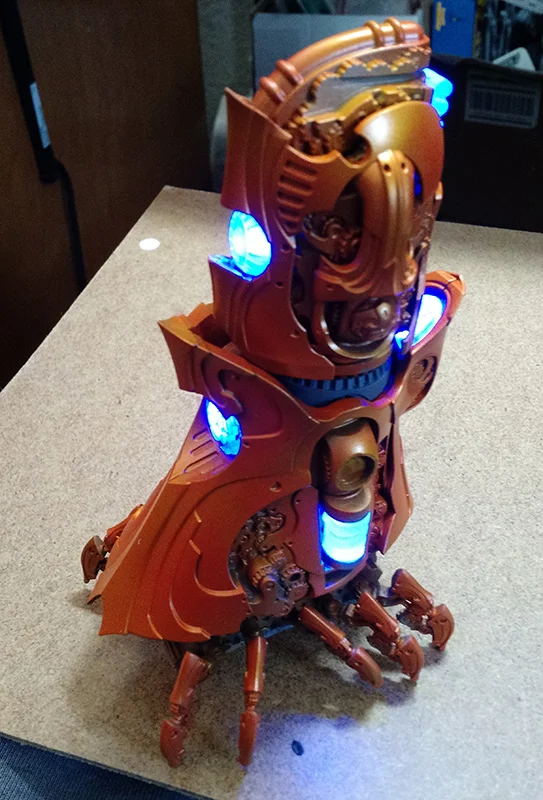
Back side view.
Top side view.
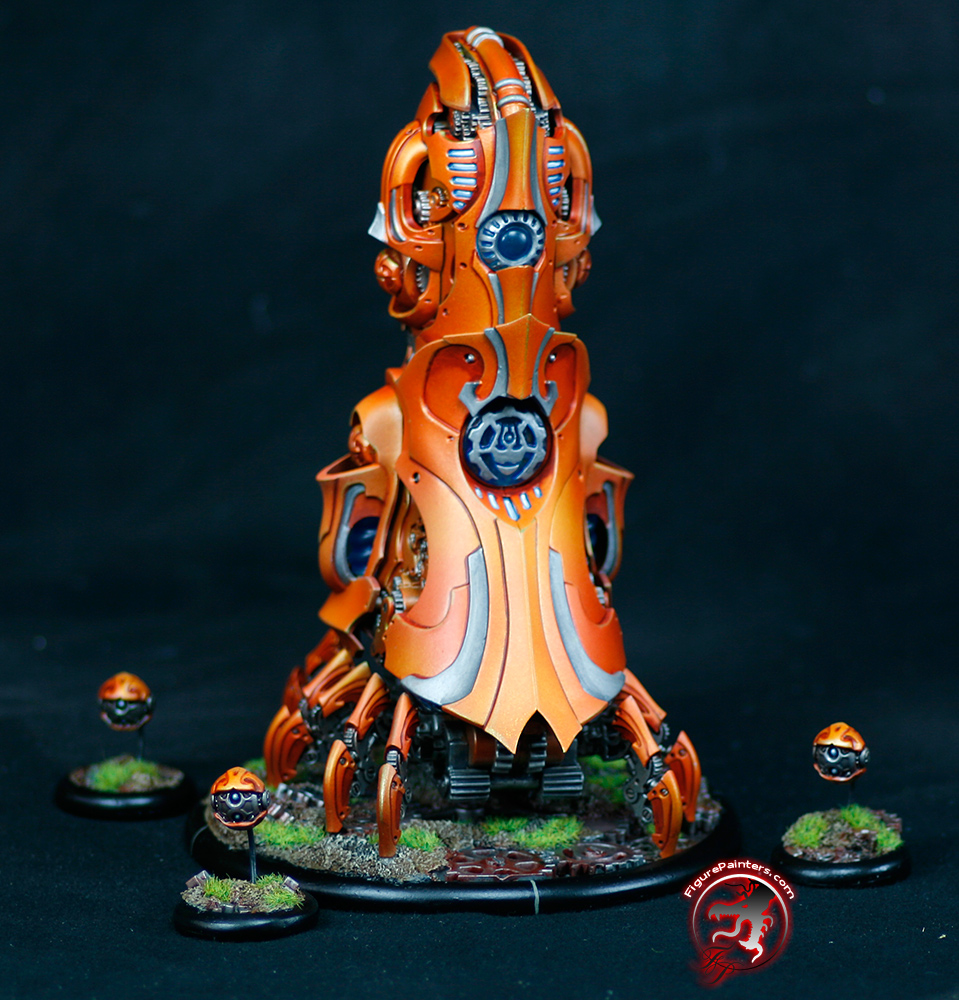
Unlit on it's gear base.
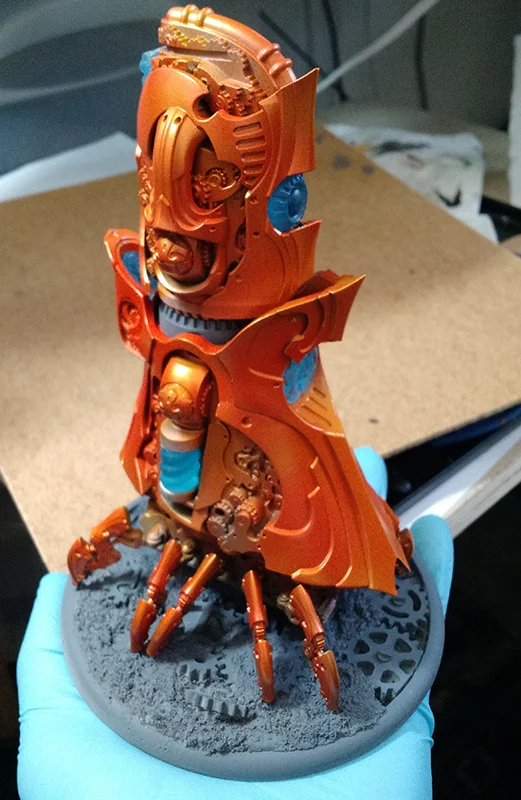
Jumping ahead with all the silver parts painted.

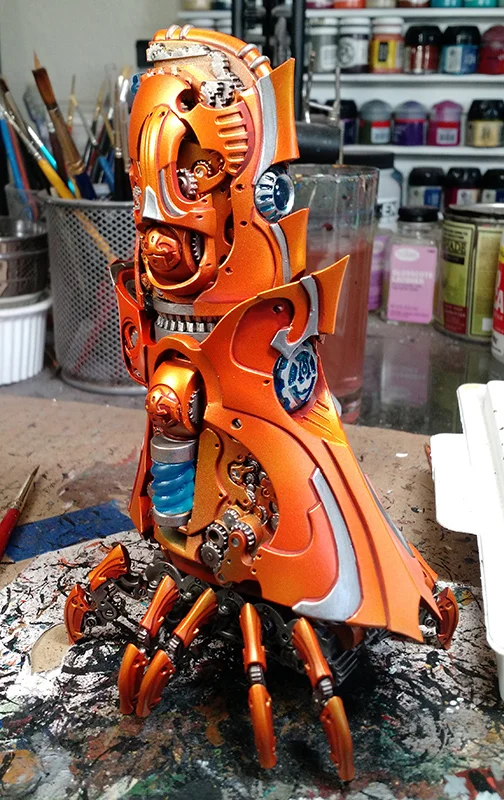
Starting the shading on the orange and the silver. The glowing parts are also going to get shaded with some clear glue paint, so they look a little more interesting when not lit up.
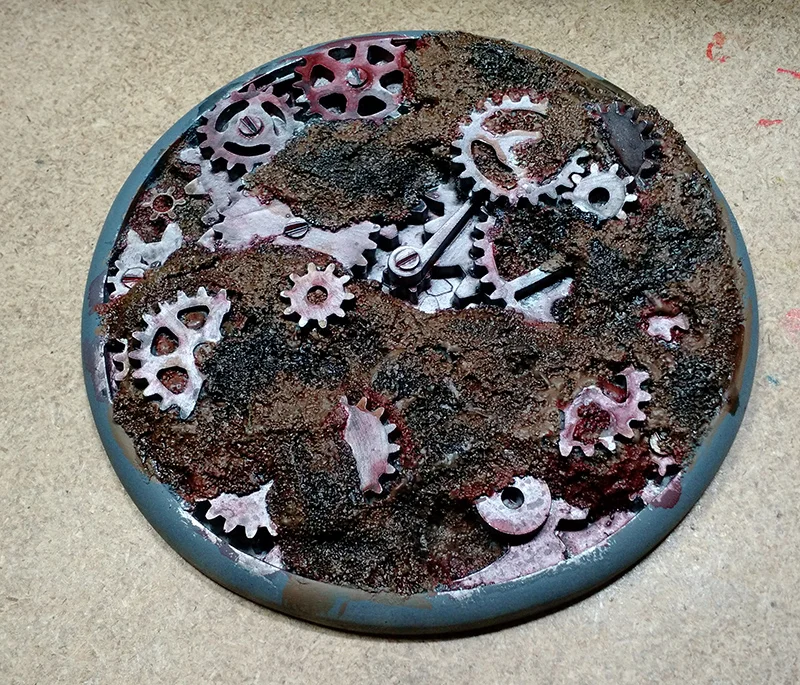
Working on the base.
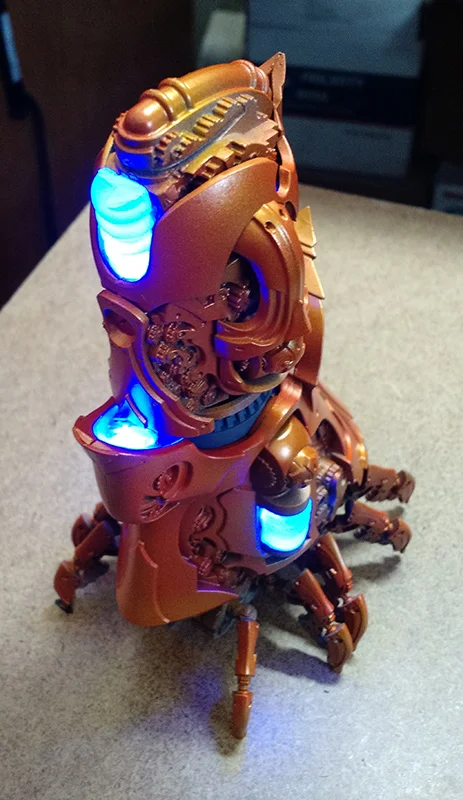
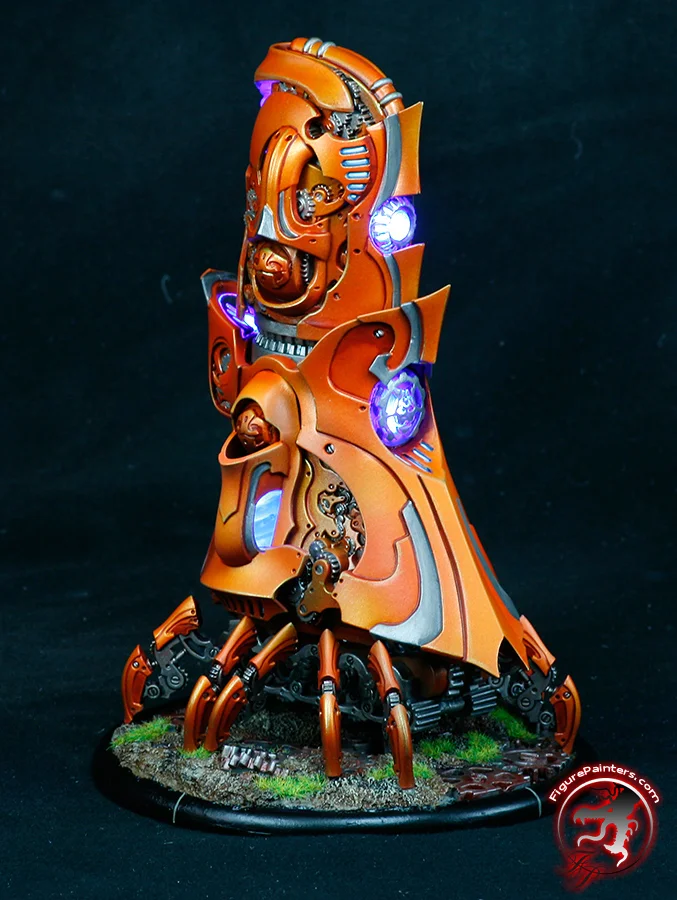
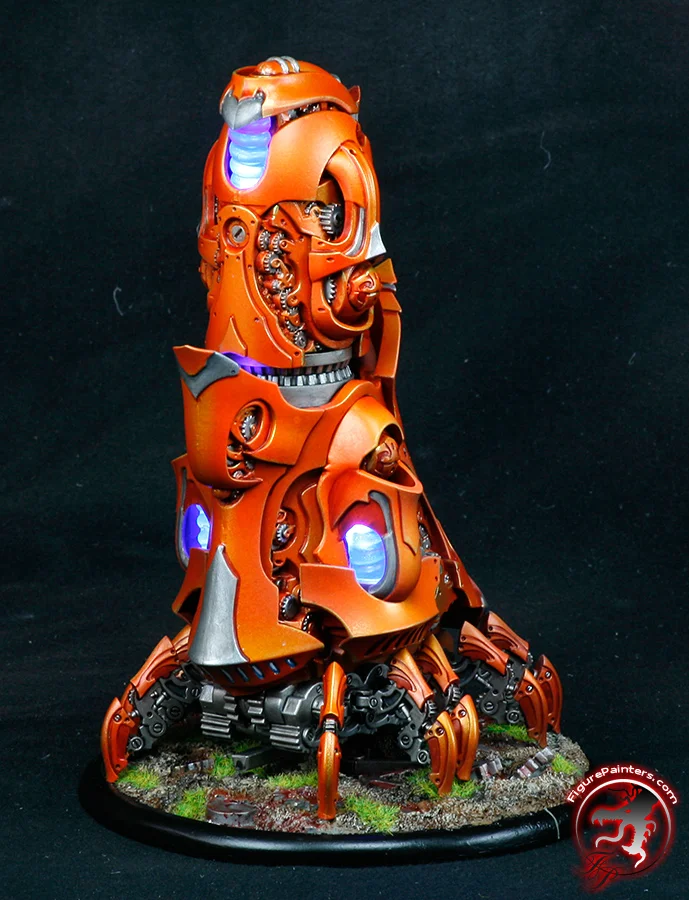
Now jumping ahead to it being all finished.
Without the lights on.
Here is a 360 rotation of the model with the lights on. Enjoy!
If you have any questions let me know.
Make sure to turn on HD.