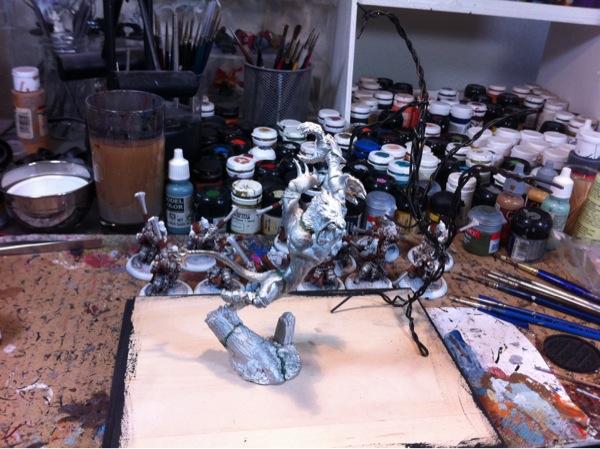
Working on some terrain for KeeblerStudios and reworking the website. Anyways just thought I would share a fun picture of one of our rabbits Cricket, coming over to check out the terrain as I was taking picutues.

Working on some terrain for KeeblerStudios and reworking the website. Anyways just thought I would share a fun picture of one of our rabbits Cricket, coming over to check out the terrain as I was taking picutues.
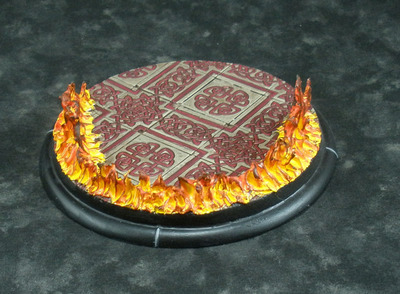
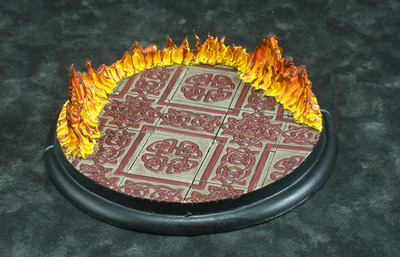
I painted up a sample so you guys can get a better idea of what it looks like. I added a button in the for sale section so you can buy one easily :)
I got around to casting up the solid bases for you guys this weekend and will send out the emails to the people that wanted some. Thanks!
I have one I will paint up too as a sample for people to look at.
I will be adding a page so you can buy these dirrectly. Though if you want one before that happenes feel free to drop me an email.

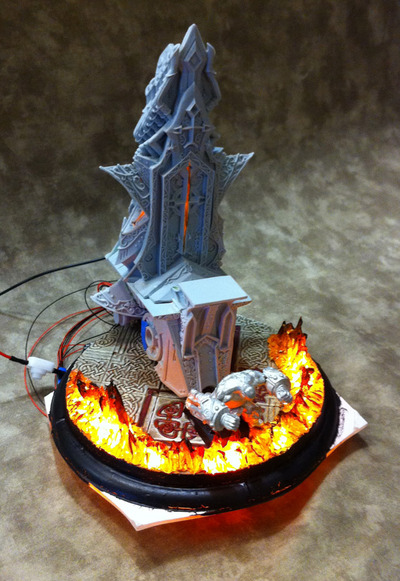
I got the rest of my lights in, so I finished up lighting the demo base and painting it up. I am pretty happy with the way it turned out. So next up is working on the final base now that I have figured out how I want this all to work.

I made two casts of the base so I would have one to work with and figure out all the bugs and the other for the final project. The nice thing about making a mold is that if I mess both up I can always make another one.
When casting the first base the plexiglass bonded to the base so I am using that for my first go.
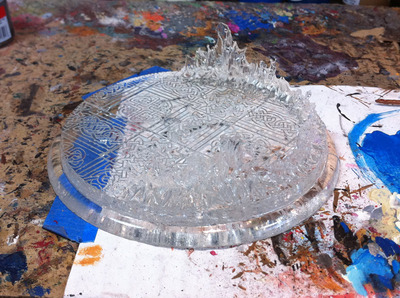
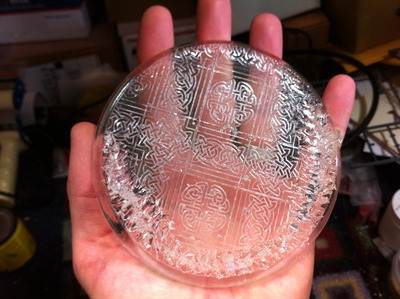
Here are a few pics of the finished clear base casted.

This morning I mounted the LEDs to it and here is a quick video of what it looks like lit up. I still need to add a few more LEDs to the base. I used all the ones I currently have so I have to make another order. But at least now I can get started working on it again.
Sorry about the crappy camera work too. :)
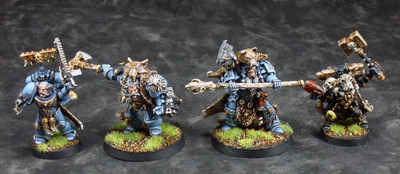
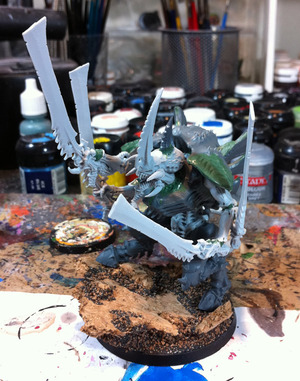
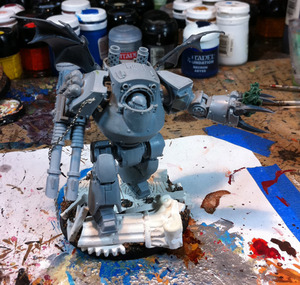
Finished up some Space Wolves and working on a Tyranid Swarm Lord and one of the new Forge World Pre-Herresy Dreadnoughts. Both of these should be a lot of fun to paint.
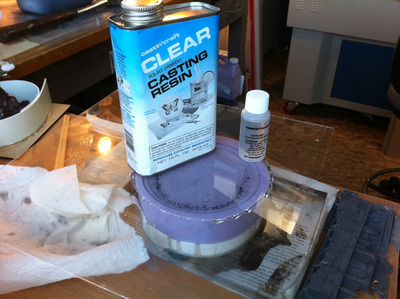
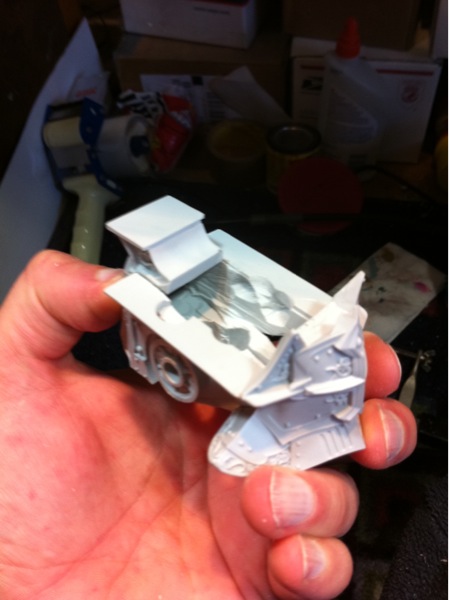
So I spent this a day weekend casting up a whole bunch of stuff for ext years Bay Area Open Tournament. And while I was at I worked on the casting for my Menoth battle engine. The purpose of casting up a clear base is to I can light the flames up like the inside of the battle engine and I will just paint over what ever parts I don't want light showing through.
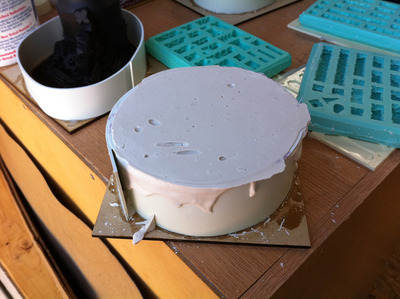
I don't have pics for the first few steps but I can at least describe them. First off it got glued down to the wood and then wrapped some plasticard around it to build it up the dam for the mould. After spraying it down with release the rubber was mixed up and brushed onto the flames to make sure all the cracks were covered. Then I poured the rest in.
Once that had set up (about a day) I poured plaster into the rest of the mold to act as a leveler when it was flipped over.
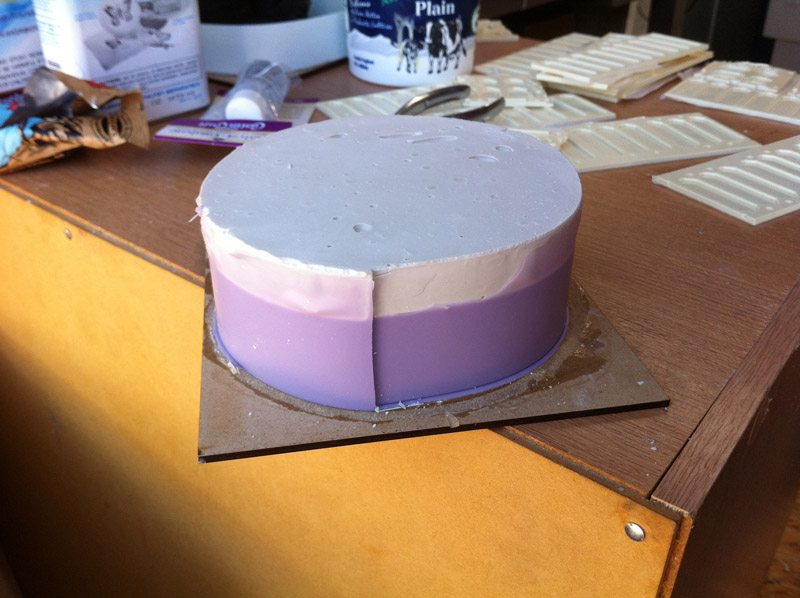
Here you can see the mold once the plaster had dried.
Once that was all dry here is it after the dam was taken off.
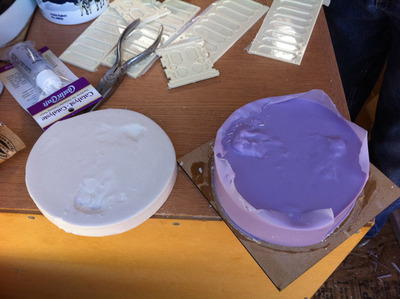
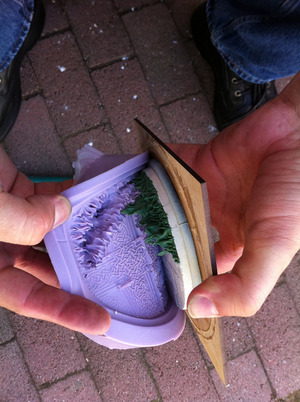
After that the rubber got peeled off.

Next up was pouring the clear resin in. After mixing it in a plastic cup it got degassed in a vacuum chamber then poured some into the flames. This then went into the degasser to get all the air out of the flames.

After that I filled the rest up with clear resin and put a sheet of plexie over the top and let it sit to cure. I used a light to medium amount of hardener to it will take a day or two to cure up. So hopefully by the end of the week I will have something to show.
Well I took it out of the mold and it is stuck to the plexi! So I am going to let it sit a few days and see if it will pop off. I poured another one, used more hardener than last time and put another mold on top of it so it will come off easily this time.
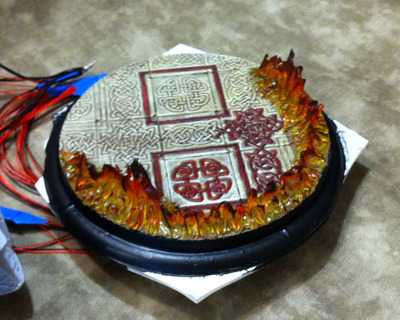
Finished up the flames. Hopefully I can get the mold made up this weekend and cast. Just been a busy week so far :( I was planning to pop off the fire and just cast it, but I think I am going to make a cast of the entire base instead.

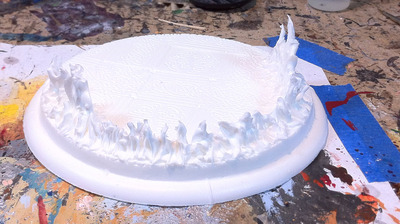
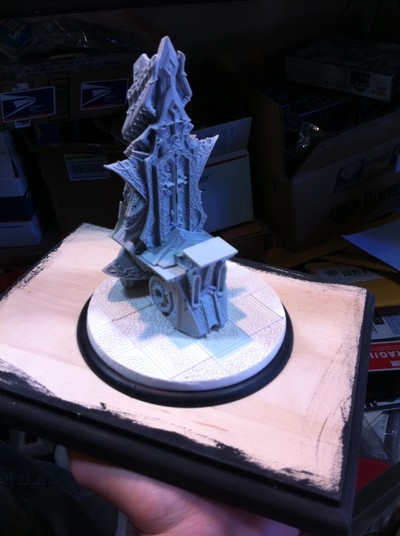
Working on the base for my battle engine. Got the tiles done and have started to work on the Flames. I started sculpting them out of oil clay but it just was not working out well, so green stuff it is!

I finnally got some LEDs for my battle engine. My first experiment with cheap xmas LEDs did not work out as planned so I found something even better! Here are 2 quick videos of it. Nevermind the crap in the background, I had to take it into the bathroom for it to be dark enough to see :)
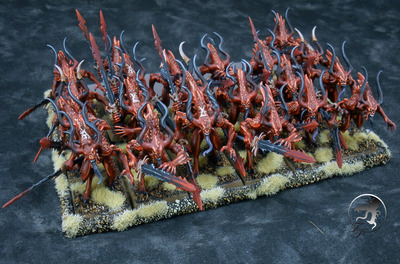
Finished up some Chaos Pink Horrors and some Bloodletters. Pretty happy how they turned out. They are going to be joining some units that I have already painted to make some very large and impressive units! :)


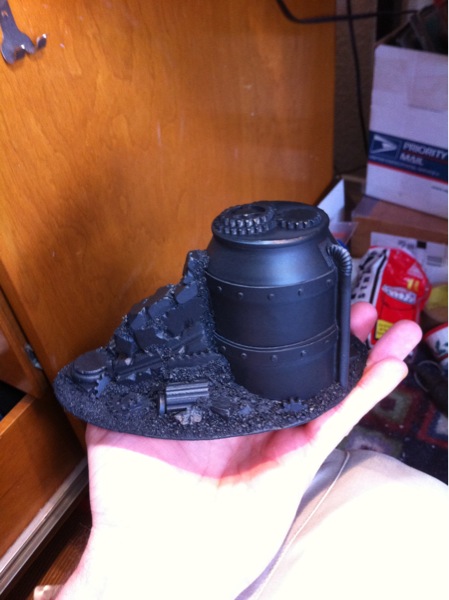
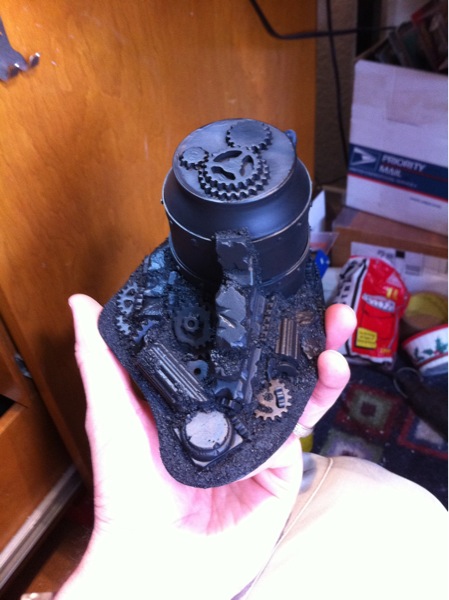
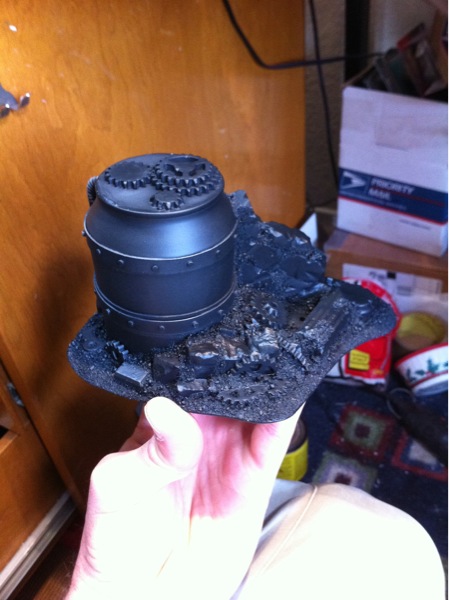
Well I finished up the terrain piece. Got it all primed and sealed so it is ready to get molds made of it. Will make a tutorial of how to make a mold for castings for it.


Work in progress. Going to make a mold of this once I an done so I can cast up a bunch of them.
Better pic of some of those Tyranid Gargoyles. :)
Click to enlarge.
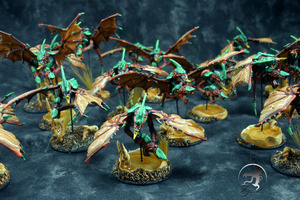
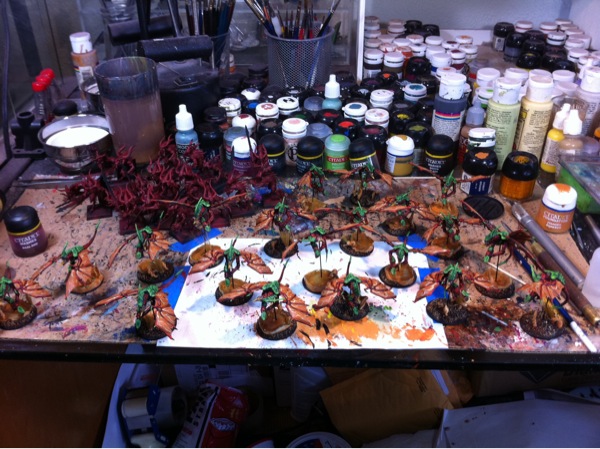
Finished up a bunch of Tyranid Gargoyles and have some Chaos Daemons Bloodletters there in the background that are in process.
Hopefully I will get my Menoth Battle Engine lit up today too!
If you are looking for the www.slogaming.net forums things got moved around a little and some people were coming to them through the figurepainters.com domain. You can get to the forums at www.slogaming.net/forums/


I had some issues with email and images on my site due to moving my domain over. I think I have it all sorted now but let me know if you find any problems. If you are having any problems first try clearing your cashe and or cookies for this site.
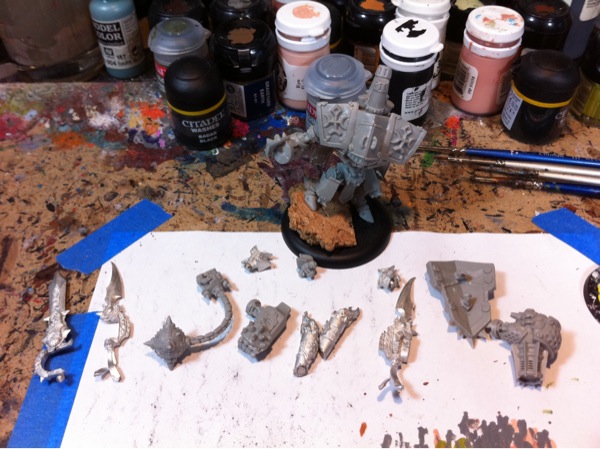
So I decided I wanted to make my Menoth Battle Engine light up. I started carving out the insides to make some room for 3 batteries and some lights. So far not to much damage to the figure. Just hope I can keep it that way :)


So I have started working on my painting entries for next years Con season. This year I will be prepaired instead of just taking stuff out of my army bag as a stopgap.....